Album proofing – Third-party d
Album Proofing (Third party designed)
Communications between you and your client are much easier with Workspace Album Proofing. Read below for more information on Album Proofing for third-party designed albums. You will need a paid Workspace plan to use this feature.
How to upload book/album proofing images
When you’ve finished the initial draft of your album and wish to send it to your client for proofing, you will need to upload your JPG files to Workspace. Simply go to the “Albums” tab in Workspace. Click the "3rd party album proofing" button in the top right hand corner.

Click the BROWSE button to select files to upload and once selected the upload will start automatically.
You can upload your jpg files at any size but the images will be resized to proxy image (max 1024 pixels). You will need to label the images L01.jpg >> L02.jpg to ensure the layouts display in order.
Give the album/ book a name and a password and wait for the upload to complete. The window will close; you will then need to open the album you wish to send to your client.
How to send design to client
Once you've opened the album, click the proofing tab, then “SHARE” and then "Send album to client for feedback and approval" If you've already set-up an album proofing template (under sell >> templates), the email you've set up will appear here. You can edit the styling of the email here or change the text to send to your client. Once sent, your album will be locked until your client responds or you revoke proofing.
You must click "send" once you are in the HTML editor to make the online proofing live. If you wish to add the link into your own personal emails, send the Album Proofing email to yourself (to make the page go live) and copy the link from there. Also please be careful not to edit the URL and PASSWORD when you’re editing the text in the email itself!
Your client can now comment, suggest changes, or approve the design. You will be notified when your client has submitted feedback by email.
When your client has submited feedback you will be notified by email. Open the link given to you in the emaill, or go straight to the Albums area in Workspace. View the comments in Workspace and make the changes in your third-party software. You can click ‘completed’ on the comment, once the change has been made or if you have queries, reply to the comment.
When you're ready to send the updated design to your client, export the design and upload the new version to Workspace by clicking "upload new revision" in the top right hand corner of Workspace.
Once uploaded send the album to your client.
How to add your own comments: If you want to make comments before showing it to your clients, you can click anywhere on a layout to make a comment. However, so your client knows exactly what you're referring to, click on the layout or image that your comment refers to.
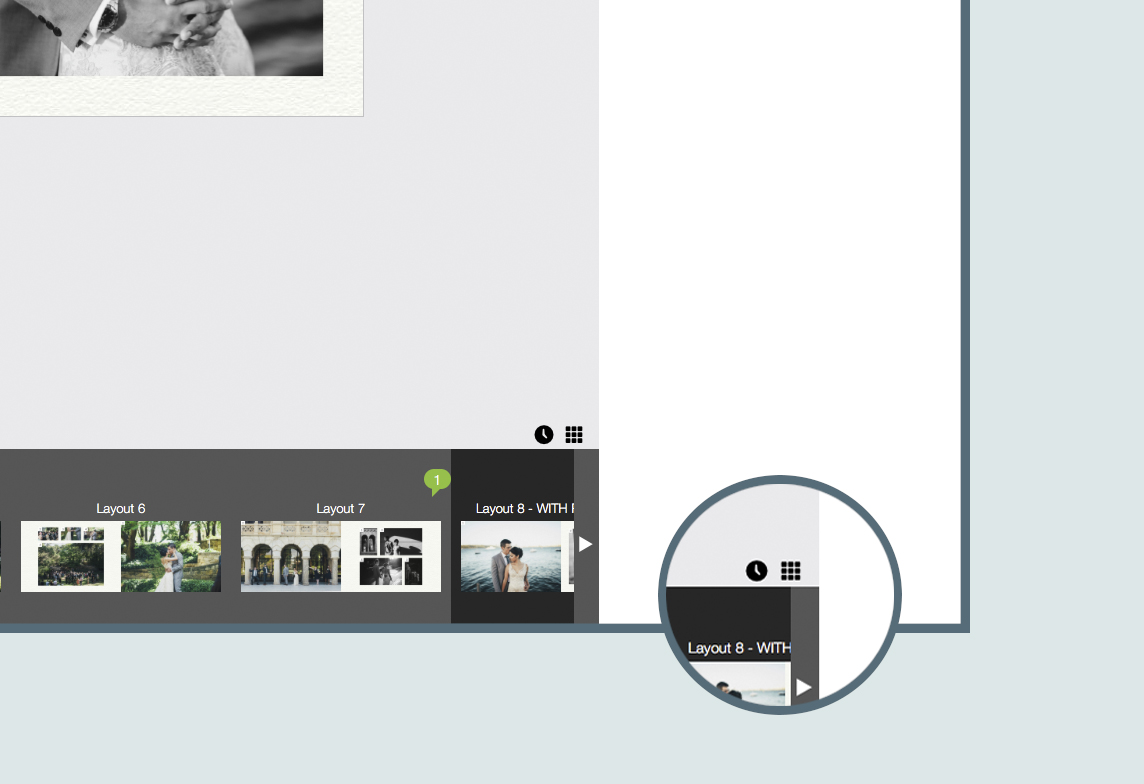
How to view conversation history: Click the "Conversation History" icon (the clock) in the bottom right hand corner. You can review all dialogue history between you and your designer, or you and your client.
How to view all layouts: Click the "All Layouts" (Grid) icon to view the overall design. If there are comments on the layout, a green chat bubble will appear