How resizing images works
When you export your album layouts from Photojunction for printing, for example, the software runs an automatic Photoshop process that resizes them and places them into a PSD file. The images are enlarged or reduced, and positioned to suit how you want them to appear on the page layouts. The process is always the same, whether for books or albums, whether you're designing the album or we are, or whether you're exporting the layouts or we're doing it for you. The same goes if you're ordering or designing in Workspace. It's always Photoshop doing the heavy lifting behind the scenes, and producing a top quality result.
Taking an image and enlarging it (adding extra pixels) can cause pixelation, depending on the amount of upsizing. But what happens when you take a big sharp file, and reduce it to a much smaller size? And what does it mean for your album printing?
Photoshop handles removing the data (pixels) when you take a big file and make it smaller. And even with a sharp file, removing a lot of data can make the smaller version look soft on the layout.
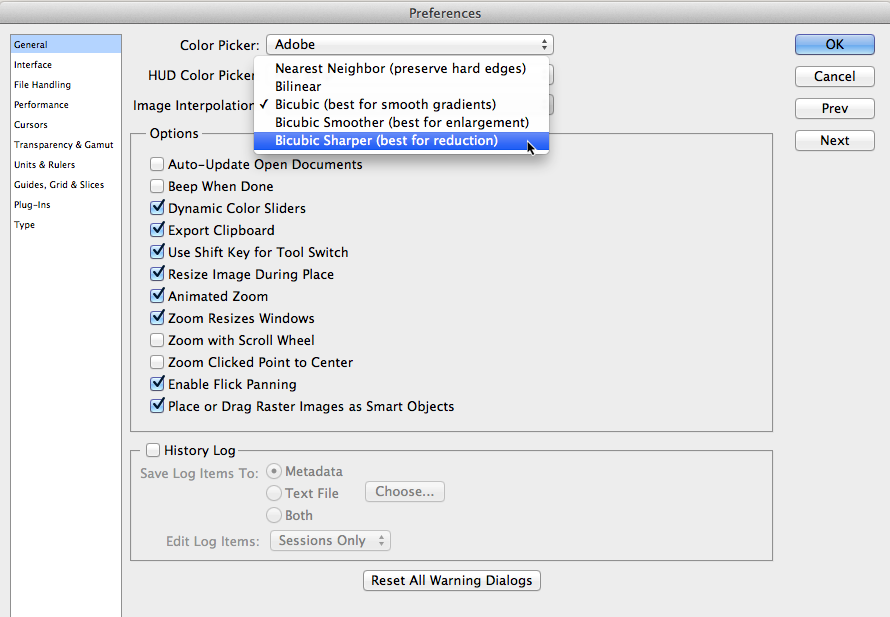
So what do we suggest? Look at your Photoshop preferences, General tab. Change your Image interpolation to Bicubic Sharper. Photoshop will sharpen the images as they are down-sampled, to improve the detail. This is what Adobe recommends for reducing images. This can be an issue if you have quite sharp images however, so check the results! You may need to use Bicubic. And you will want to change the setting back to create larger images.
As always of course, if you are doing the exporting yourself, please check your files before sending them to us.


